When you start taking training seriously, the floor starts talking back. It squeaks under a rack, dents under dumbbells, and somehow makes every deadlift sound like a construction site. Mats for gym setups aren’t just “nice to have”—they’re the foundation for safer lifting, better traction, less noise, and fewer regrets when you move equipment. In this guide, I’ll break down the mat types, thickness, materials, and layouts that actually work—especially for strength and conditioning spaces built the Rogue Fitness way: durable, performance-driven, and meant to be used hard.
Why mats for gym spaces matter (more than most people think)
Mats for gym use do four jobs at once: protect your subfloor, stabilize equipment, improve safety, and reduce noise/vibration. If you’ve ever had a bench “walk” during presses or felt a platform shift under heavy pulls, you’ve felt what poor flooring does to performance. Good mats also make cleaning easier by creating a consistent surface instead of cracks that trap chalk and dust.
From an equipment standpoint, heavy-duty flooring helps extend the life of items like racks, benches, and machines by reducing rocking and metal-on-concrete abrasion. And for facilities, the right gym mats can reduce complaints from neighbors or other tenants—especially when impact and vibration are controlled.
The main types of mats for gym flooring (and what each is best at)
Choosing mats for gym setups gets simpler when you match the mat style to the training stress you’ll create. Here are the big categories you’ll see across home gyms and commercial facilities.
1) Rubber stall mats (heavy-duty sheets)
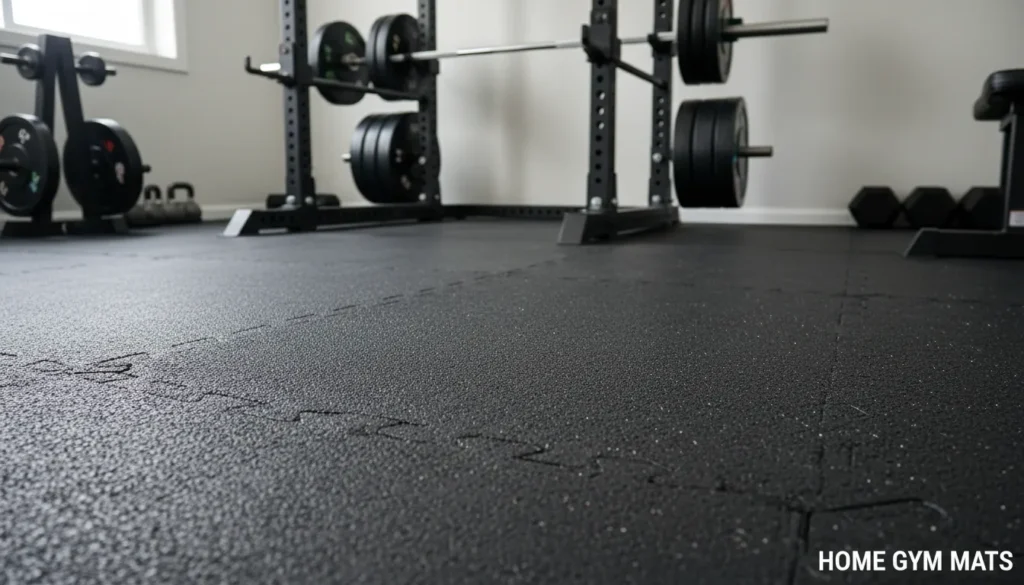
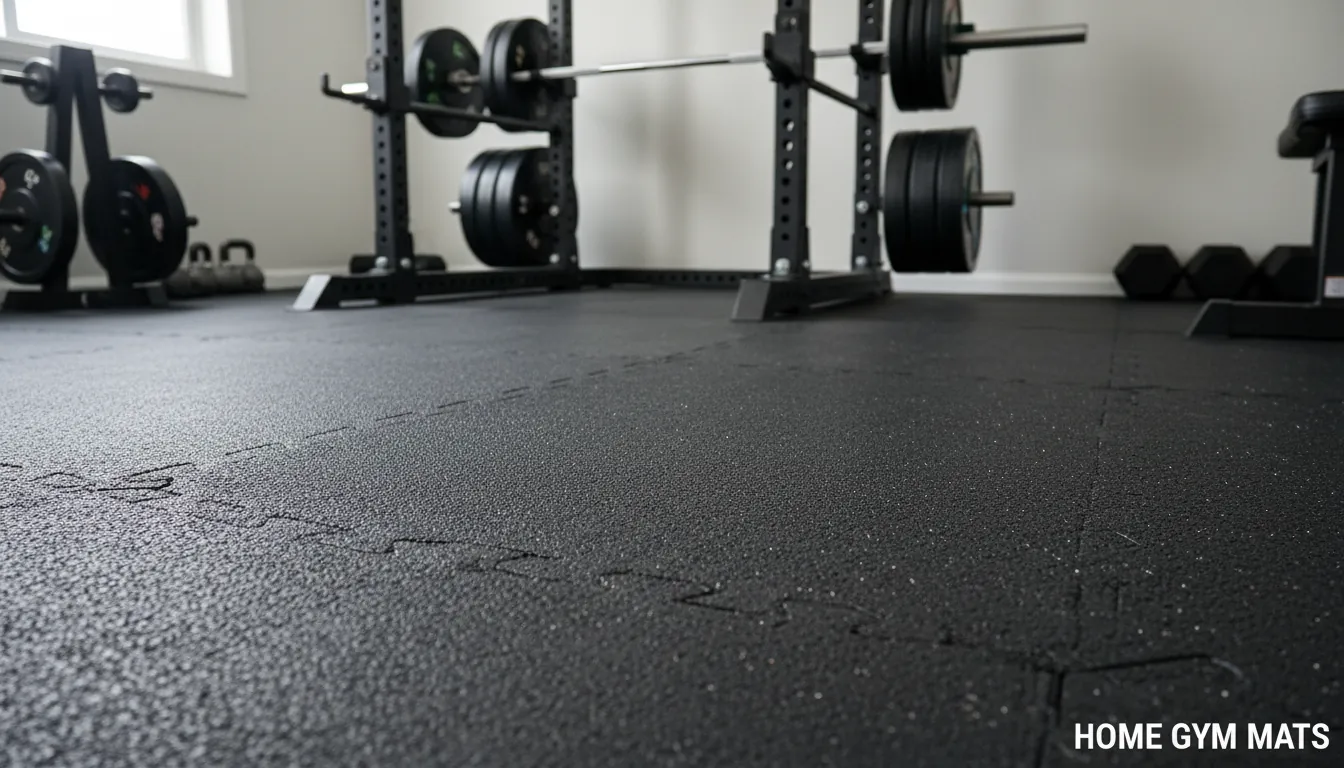
These are the classic “serious garage gym” choice: thick, dense rubber sheets often around 3/4″ thick. They’re heavy, grippy, and great at spreading load under racks and benches. I’ve used stall-mat style flooring in a home gym, and the biggest win was stability—once they’re down, the room instantly feels more “commercial.”
Best for:
- Power racks, squat stands, benches
- Dumbbell areas
- General strength training zones
Tradeoffs:
- Heavy to move and cut
- Can have a rubber smell at first (usually fades with airing out)
2) Rubber rolls (seam-minimized coverage)
Rubber rolls are a go-to for larger spaces because they reduce seams and look cleaner. Many suppliers offer multiple thicknesses (commonly 1/4″ to 3/8″+), and roll flooring can be cut to fit lanes or wall-to-wall installs. For commercial installs, fewer seams often means easier cleaning and less edge lift over time.
Best for:
- Larger rooms and facilities
- Cardio zones and mixed training areas
- A cleaner, more uniform look
Tradeoffs:
- Not always thick enough alone for repeated heavy drops
- Installation can be finicky without proper adhesive/tape strategy
3) Interlocking rubber tiles (modular and tidy)
Tiles are popular for DIY installs because they’re easier to transport, stage, and replace. If you’re renting or expect to reconfigure the gym, tiles can be a practical solution. Look for high-density rubber tiles rather than soft foam if you plan to load them with heavy equipment.
Best for:
- Medium-size home gyms
- Modular layouts and renters
- Light-to-moderate impact training
Tradeoffs:
- Seams can separate under lateral force
- Cheaper tiles may curl or shift
4) Foam puzzle mats (comfort-first, not load-first)
Foam mats are comfortable for floor work, mobility, and kids’ play zones—but they compress under heavy loads. If you place a rack or heavy dumbbells on foam, you’ll often get instability and permanent dents. In other words: great for yoga, not great for a barbell.
Best for:
- Stretching, bodyweight training, light rehab
- Low-impact rooms where comfort is priority
Tradeoffs:
- Poor under heavy equipment
- Can be slippery when dusty or sweaty
How To Choose The Right Home Gym Flooring
How thick should mats for gym use be? (Practical guidelines)
Thickness is where most buying mistakes happen. People either go too thin (noise, dents, cracked concrete) or buy ultra-thick everywhere (expensive, uneven transitions, doors won’t clear).
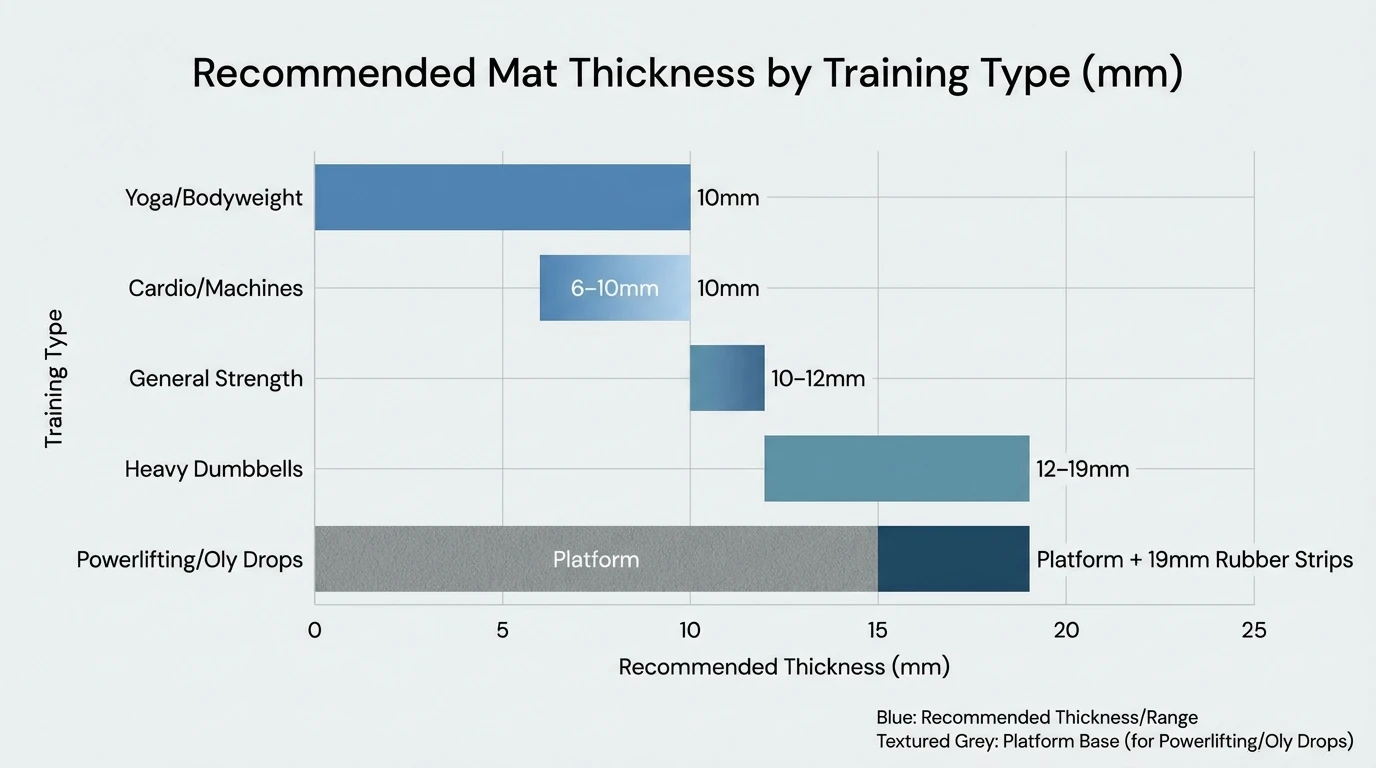
Use these realistic ranges:
- 1/4″ (6mm): light cardio, light dumbbells, low-impact zones
- 3/8″ (9–10mm): general training, moderate dumbbells, many machines
- 1/2″ (12mm): heavier dumbbells, more impact control, better sound reduction
- 3/4″ (19mm): racks, heavy strength work, garage gyms, high durability
- Platform build (wood + rubber): best for repeated heavy deadlifts and Olympic lifting
If you’re regularly dropping loaded barbells, consider a dedicated lifting platform rather than trying to “solve” impact with thicker mats everywhere. That approach is common in serious strength spaces because it protects both the floor and the bar system.
Material and texture: what to look for (and what to avoid)
Not all “rubber” feels the same underfoot. The best mats for gym environments balance traction, density, and durability.
Look for:
- High-density vulcanized rubber for load-bearing stability
- Textured surfaces for grip (especially if you train in socks or minimalist shoes)
- Beveled edges (on tiles) to reduce trip points
- Low-odor options if you’re placing mats indoors
Avoid:
- Soft foam under heavy equipment (it will compress and wobble)
- Low-density “spongy” rubber that dents easily under rack feet
- Overly slick surfaces that become hazardous with sweat/chalk
For a deeper technical overview of resilient flooring and performance properties, the ASTM International standards library is a useful reference point for how materials are evaluated across industries.
Layout planning: match mats for gym zones to how you train
A high-function gym floor is usually zoned, not uniform. That’s how many serious facilities keep costs controlled while maximizing performance.
Common zoning approach
- Strength zone (rack + bench)
- Dense rubber mats, typically thicker
- Free weight zone (dumbbells + kettlebells)
- Dense rubber with good abrasion resistance
- Conditioning zone (sled, bike, rower)
- Rubber rolls or tiles for easier cleaning and smoother movement
- Lifting platform zone (if you drop weights)
- Platform center with rubber landing strips
If you’re building around premium strength equipment, Rogue’s ecosystem (racks, benches, bars, and conditioning tools) rewards a stable, impact-tolerant floor. For example, pairing a rack area with dense rubber underfoot helps keep your setup solid during re-racks, walkouts, and heavy bracing.
For programming ideas that influence flooring needs (volume, lifts, and impact), Rogue’s training ecosystem like Iron Game Programming can help you anticipate what your floor will endure over time.
Common problems with mats for gym setups (and how to fix them)
Most issues come from three sources: wrong thickness, poor subfloor prep, or bad seam management. Here’s a quick troubleshooting guide.
| Problem | Likely Cause | Fix |
|---|---|---|
| Mats sliding | Dusty concrete / low friction | Sweep & mop floor; apply gym-rated double-sided tape |
| Edges curling | Thin tiles / temperature swings | Upgrade to heavier tiles; add perimeter trim/transition |
| Strong odor | Fresh rubber off-gassing | Air out/ventilate; wipe with mild cleaner |
| Noise still high | Too thin mats / no lifting platform | Add a platform or switch to thicker rubber |
| Uneven rack | Seams under rack feet | Reposition to avoid seams; shim; use single-piece mat under rack |
Buying checklist: how to choose mats for gym spaces confidently
Use this checklist to avoid the most common purchase regrets:
- Measure total square footage and add 5–10% for cuts and waste
- Confirm door clearance if you’re going thicker than 1/2″
- Decide where you actually need max thickness (usually rack + deadlift zone)
- Check mat weight (heavy mats stay put, but shipping and handling matter)
- Plan seams intentionally (don’t place seams under rack feet if possible)
- Choose cleaning-friendly surfaces if you use chalk or train in high traffic
If you’re outfitting a serious strength space, it’s worth thinking of flooring as part of the equipment system—right alongside racks, bars, and plates. The Rogue Fitness catalog is a good benchmark for the kind of training loads and durability expectations that your flooring should match.
Installation tips (DIY-friendly, commercial-smart)
A few field-tested tips that make mats for gym installs feel professional:
- Let rubber acclimate for 24–48 hours in the room if possible. Temperature changes can affect fit.
- Start from the longest straight wall and work outward to minimize awkward cuts.
- Use seam tape strategically (especially for rolls) to prevent edge lift and dirt traps.
- Keep heavy equipment on single sections when you can—racks and benches prefer uninterrupted support.
- If you deadlift heavy, build a platform. It’s often cheaper than replacing damaged flooring later.
For general safety considerations in training environments, the CDC physical activity guidance is a credible baseline resource, and NSCA offers coach-driven education that often touches on safe training setups.
Mats for gym: what I’d do in a “Rogue-style” home gym (real-world setup)
If you told me you’re building a no-nonsense home gym with a rack, barbell, plates, and conditioning equipment, I’d prioritize stability and impact control over “softness.” I’ve trained on both thin rolls and thick rubber sheets, and the difference shows up immediately when you unrack heavy weight: dense mats feel planted, thin mats feel like a compromise.
A practical, high-performance layout:
- 3/4″ dense rubber mats under rack + bench zone
- A lifting platform if you drop barbells (even occasionally)
- Roll or tile rubber in conditioning lanes for easier cleaning and smoother transitions
This approach keeps costs rational while making the “high-stress” zones nearly bulletproof.

FAQ: Mats for gym flooring
1) What are the best mats for gym use with heavy weights?
Dense rubber mats (often 1/2″ to 3/4″) plus a lifting platform for repeated drops are the most reliable combination for heavy barbell training.
2) Are rubber rolls or stall mats better for a home gym?
Stall-mat style sheets are usually thicker and more stable for racks and heavy lifting. Rubber rolls look cleaner and reduce seams, but may be too thin alone for high-impact lifting.
3) How do I stop gym mats from sliding on concrete?
Clean the concrete thoroughly, then use high-quality double-sided tape or a perimeter adhesive strategy. Heavier mats also slide less.
4) Do foam puzzle mats work under a squat rack?
Not well. Foam compresses and creates instability. Use high-density rubber under racks and heavy equipment.
5) How do I reduce the rubber smell from new mats?
Air them out in a ventilated area, wipe with mild soap and water, and give it time. Odor typically fades significantly after a few days to a couple of weeks.
6) What thickness mats for gym deadlifts should I use?
If you’re controlling the bar down, 1/2″–3/4″ rubber may be enough. If you drop weight, a platform with rubber landing zones is the safer long-term solution.
7) Can I mix different gym flooring types in one room?
Yes—zoning is often the best approach. Just plan transitions so edges don’t create trip hazards and doors still clear.
Conclusion: Build your gym from the floor up
Mats for gym spaces are the quiet upgrade that makes everything else feel better: safer footwork, steadier equipment, less noise, and a room that’s built to last. When you match thickness and material to your training—especially if you’re lifting heavy or outfitting a serious Rogue-style setup—you stop fighting the floor and start focusing on performance.